Layouts and node templates
Arrange your network so it is easy to read, and reuse device configurations when you build the next lab.
Layouts and appearance
The layout menu changes how TopoViewer places nodes on the canvas.

| Layout | Use it for |
|---|---|
| Preset | Keep the positions already stored in the annotations file, or the positions you arranged manually. |
| Auto | Build a readable generated layout for most topologies. Tree-like parts are arranged hierarchically, while dense mesh-like parts are handled separately. |
| Force | Spread dense or irregular topologies with a force-directed layout. |
| Radial | Place hierarchical topologies around a central node. |
| Geo | Work with topology positions on a map when geographic coordinates are available. |
Generated layouts update the node positions saved in the annotations file. They arrange topology nodes and network nodes; text, shapes, groups, and traffic-rate annotations remain visual annotations that you position yourself.
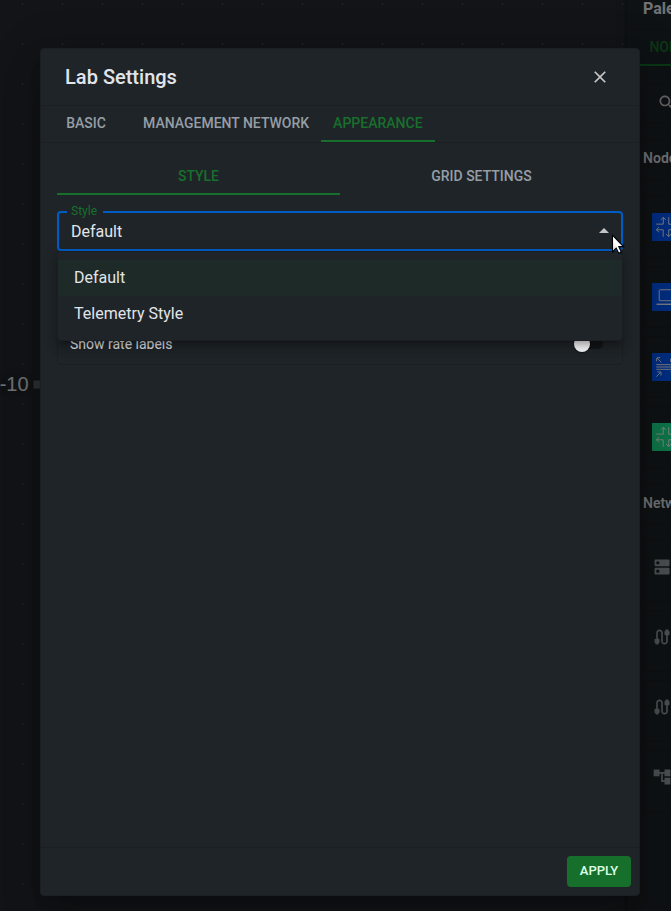
The Appearance tab in the lab settings controls how the canvas is presented. The default style keeps the normal editor view. Telemetry Style changes the topology into a dashboard-oriented view with configurable node size, interface bubble size, and compact interface labels.
Telemetry Style
Telemetry Style is only a display style. It does not deploy Grafana, Prometheus, or any telemetry collector by itself. Use it when you want the topology to look like a monitoring diagram, or when you plan to export a Grafana bundle.
The Appearance tab also controls:
- rate labels, which add traffic-rate annotation labels near link endpoints
- global and per-interface label shortening for long interface names
- grid style, grid color, and canvas background color
The Link Labels toolbar menu is separate from Telemetry Style. Use it to show all link labels, show them only when a link is selected, or hide them on the canvas.
Appearance preferences are saved with the topology annotations so the view can be shared with the lab files.
Node templates and drag-and-drop
Node templates are reusable node presets shown in the Node Templates palette.
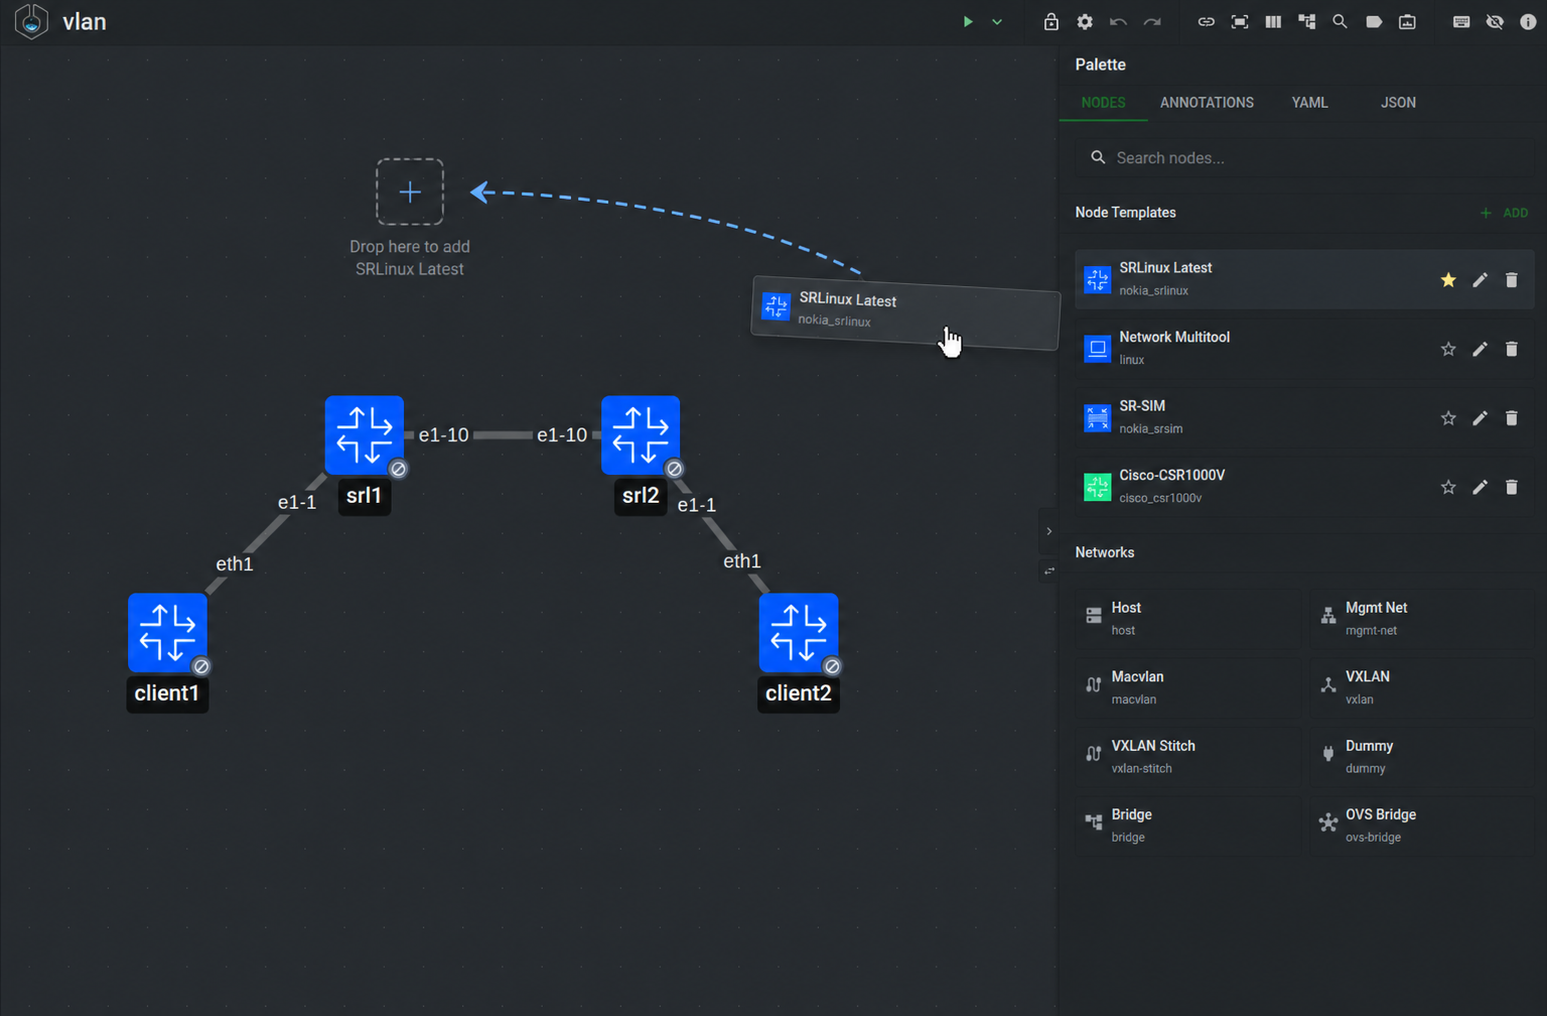
Drag a template from the palette onto the canvas to create a node at that position. You can also mark one template as the default template; quick-add actions such as adding a node from the canvas use that default when no explicit template is selected.
A node template can define common node fields such as:
kindtypeimage- icon and icon color
- startup config, binds, environment variables, licenses, and other node options
baseName, used to generate node names such assrl1,srl2, andsrl3
Use the template editor to create or edit node templates.
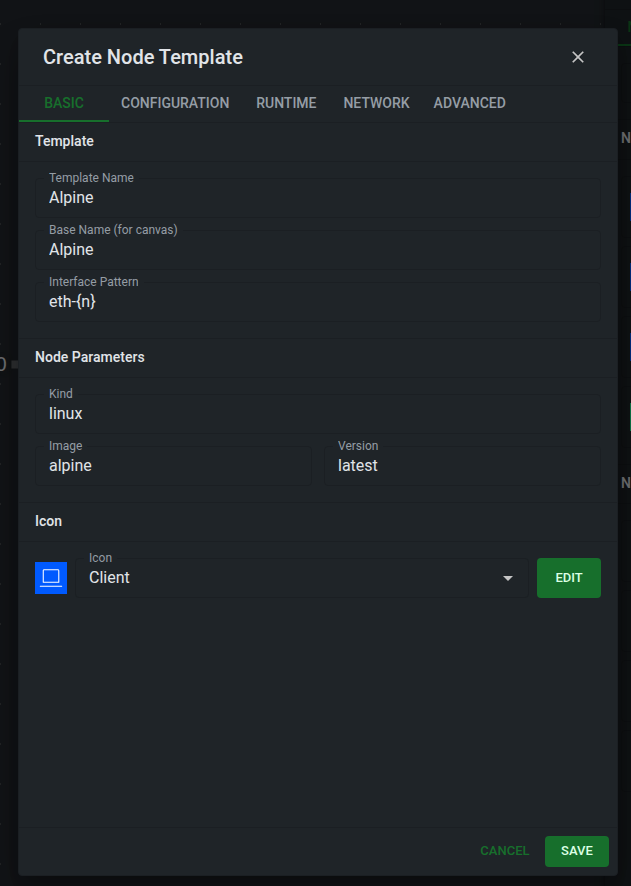
Interface pattern
interfacePattern tells the editor how to name interfaces when it creates links for a node. The pattern contains an {n} placeholder, and the editor replaces it with the next available interface number.
Use {n} for simple numbering. For example, e1-{n} creates e1-1, e1-2, e1-3, and eth{n} creates eth1, eth2, eth3.
Use {n:start} to choose the first number. For example, eth{n:0} starts with eth0, and Gi0/0/{n:2} starts with Gi0/0/2.
Use {n:start-end} to limit a range, and separate multiple patterns with commas when a node has split interface blocks. The editor fills the first range, then jumps to the next pattern. For example, 1/1/c{n:1-2}/1,1/1/c{n:5-6}/1 creates 1/1/c1/1, 1/1/c2/1, then jumps to 1/1/c5/1 and 1/1/c6/1.
Set this on custom node templates when the node kind uses interface names that the editor cannot infer from the kind alone.
Templates make the editor faster, but they do not introduce a new topology format. When you create a node from a template, the GUI writes a normal Containerlab node definition to the topology YAML.
The palette also contains networks and annotations. Drag networks onto the canvas to add management or bridge-style network objects. Drag annotations to add text, shapes, groups, and traffic-rate labels that are saved in the annotations file next to the topology.